
As players get further into their iRacing Arcade career, the racing tends to get a little tougher going up the ranks. Thankfully, there’s an answer for when the times get tough, and that is in the form of boosts.
Boosts come in different flavors and perks, and some could arguably even make a player’s experience even harder depending on how they play.
It all starts with adding facilities to the Campus. There are five main building types and all five will affect the number of and types of boosts that get generated at the start of each week.
IT STARTS IN THE GARAGE
The iRacing Arcade Garage is a special building type that actually offers five tiers if the Barn that every player starts out in is considered. Having a Tier 1 Garage not only offers more car space. It also unlocks the first two Boost slots that each car can utilize on any given week. From there, each ascending Tier adds another slot for Boosts until it caps at five slots on a Tier 4 Garage. Additional Garages still provide more car storage space. However, only five Boosts at a time are available per car, per race.
The Garage is the only building type outside of Decorations and Trophies that does not produce boosts, whereas the Engine Shop, Chassis Shop, R&D Center, and Team HQ will all provide from their list of boosts towards the curated boosts for that week.
Players can have everything maxed out with as many of each building type as physically possible, but the list of Boosts that are provided on a week-to-week basis are completely random. Trust me, I’ve gotten like five Big Head Mode boosts in a single week before, where a Friendly Steward Boost would have really helped me instead.
HOW THE BOOSTS ARE MADE
There are four categories of boosts that correlate to each building type outside of the Garage. The Engine Shop produces boosts that modify engine power. R&D Centers produce boosts that generally affect health. Chassis Shops produce boosts that affect tire wear, grip, and slipstream. Team HQ buildings also serve a dual purpose like Garages. Their main priority is for hiring drivers, but also produces boosts that improve pit crew performance and penalty shields.
Some boosts are tiered based on the level of the building. A Tier 1 Engine Shop will yield an Engine Power boost that is way less of a boost than a Tier 4 Engine Shop might. There are also a couple of boosts that are only made in certain buildings, like Over The Red Line is only made if you have a Tier 2 Engine Shop on your campus, where the See You Later boost is made from having a Tier 3 Engine Shop.
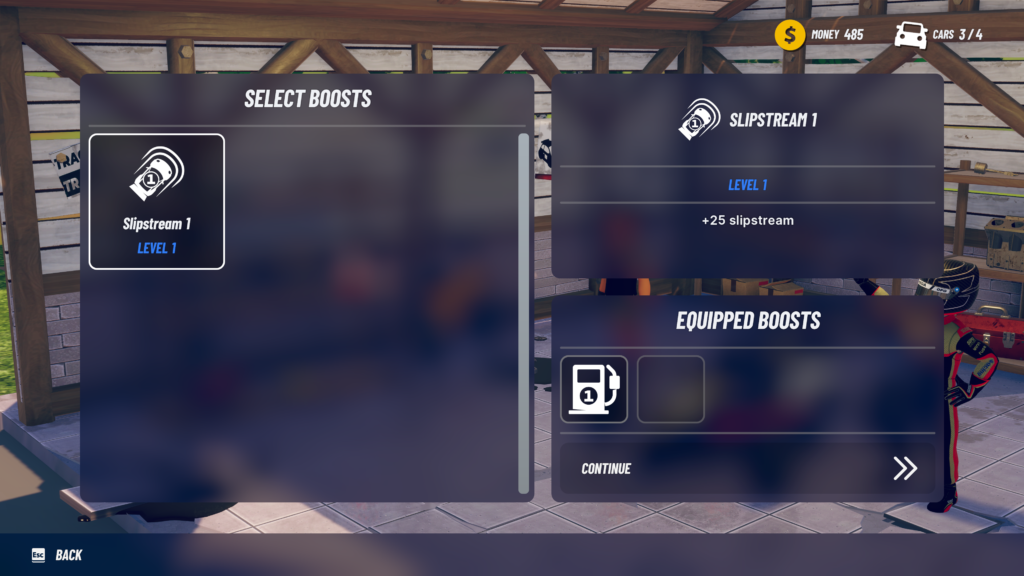
Before each race, players will be asked to equip Boosts to their cars. Be careful, as each boost can only be used once, unless your curation gave you multiple of the same boosts for whatever reason. Boosts can also be used on Hired Drivers, but in a different fashion, and that will be something we talk about in a couple of weeks.
ENGINE SHOP BOOSTS
- Engine Power (added engine power, levels 1-4)
- Fuel Additive (added engine power on first lap, levels 1-4)
- Comeback (added engine power for an amount of time when overtaken)
- Over the Red Line (added engine power on the last lap, unlocked in Tier 2)
- See You Later (added engine power for an amount of time when overtaking, unlocked in Tier 3)
R&D CENTER BOOSTS
- Reinforced Parts (start with an extra amount of health, levels 1-4)
- Repair Nanobots (an amount of damaged repaired when completing a lap, levels 1-4)
- Glass Rocket (added amounts of grip and engine power at the cost of an increase of potential incoming damage, levels 1-4)
- Secret Storage (added amount of fuel if you run out on the last lap)
CHASSIS SHOP BOOSTS
- Car Setup (adds an amount of grip, levels 1-4)
- Slipstream (adds an amount of slipstream, levels 1-4)
- Tire Sauce (adds an amount of grip on the first lap, levels 1 and 2)
- Durable Tires (removes an amount of tire wear, levels 1 and 2 – Unlocked in Tier 3)
TEAM HQ BOOSTS
- Friendly Steward (adds an amount of penalty shielding, levels 1-4)
- Pitcrew Fitness (pit crew works an amount of time faster, levels 1-4)
- Big Head Mode (not really a boost, but makes a player’s head bigger in open wheeled single seater cars)

What in the WORLD am I going to do with FIVE Big Head Mode BOOSTS?!?
I mentioned that some boosts might make things harder. Well, I do want to highlight my favorite boost, the Glass Rocket. Equipping this boost will make players super fast, but also will make your car break if a computer opponent sneezes wrong next to you.
Rubbing is racing, I’ve been told, but for players looking for an excuse not to hit the other cars, this is a pretty fun and different way to play, to save your car from destruction and win rather than bulldoze towards a victory. Also, it’s kind of fun to hit people anyway and see how an incredible amount of damage affects pace.
Be careful with the ones that add grip, as well, because going off line or hitting another car or curb could result in a quick spinout instead, which is the opposite of added grip!
Players that want as many boosts to choose from as possible, just keep making sure to add every building at every tier to your campus. The more you build, the more you get. So what if you have five R&D Centers. They look cool, and they give you Glass Rockets boosts for all of your races that week… hopefully.

ONGOING TIME ATTACKS
- Time Attack #1: Imola | Touring Car
- TIME TO BEAT: 40.077 seconds by LOWCROW.TTV
- Time Attack #2: Imola | Caterham
- TIME TO BEAT: 37.642 seconds by LOWCROW.TTV
- Time Attack #3: Kyalami Grand Prix Circuit | GTP
- TIME TO BEAT: 37.348 seconds by LOWCROW.TTV
Time Attacks can be accessed through the Multiplayer Tab on the Main Menu
Check back in on Tuesday mornings for our Weekly Career Mode walkthrough. Next week, we’re taking a look at goals and experience points earned during an iRacing Arcade career!
iRacing Arcade is available on Steam NOW, and it will also release on Xbox and PlayStation consoles later this year.
For more information regarding iRacing Arcade, visit www.iRacingArcade.com.
To learn more about iRacing Studios, visit iRacingStudios.com.